


All Products
Sound Proofing 3mm Foam Underlay Laminate Floor Underlayment SGS

| Place of Origin | China |
|---|---|
| Brand Name | No brand |
| Certification | SGS |
| Model Number | EVA 30-A |
| Minimum Order Quantity | 1000 sqm |
| Price | Negotiable |
| Packaging Details | Shrink wrapped |
| Delivery Time | 12WORKING DAYS |
| Payment Terms | T/T |
| Supply Ability | 1 million sqm per week |
Product Details
| Name | 3mm Acoustic EVA Laminate Floor Underlayment | Material | EVA Foam |
|---|---|---|---|
| Thickness | 3mm Thickness | Density | 110kg/m3 |
| Size | 200sqft/roll | Coating | Silver Film |
| Advantage | Moisture Proofing, Sound Proofing | Application | Laminate Flooring, Wood Flooring |
| Highlight | sound proofing 3mm foam underlay,3mm foam underlay 18.6m2,laminate floor underlayment SGS |
||
Product Description
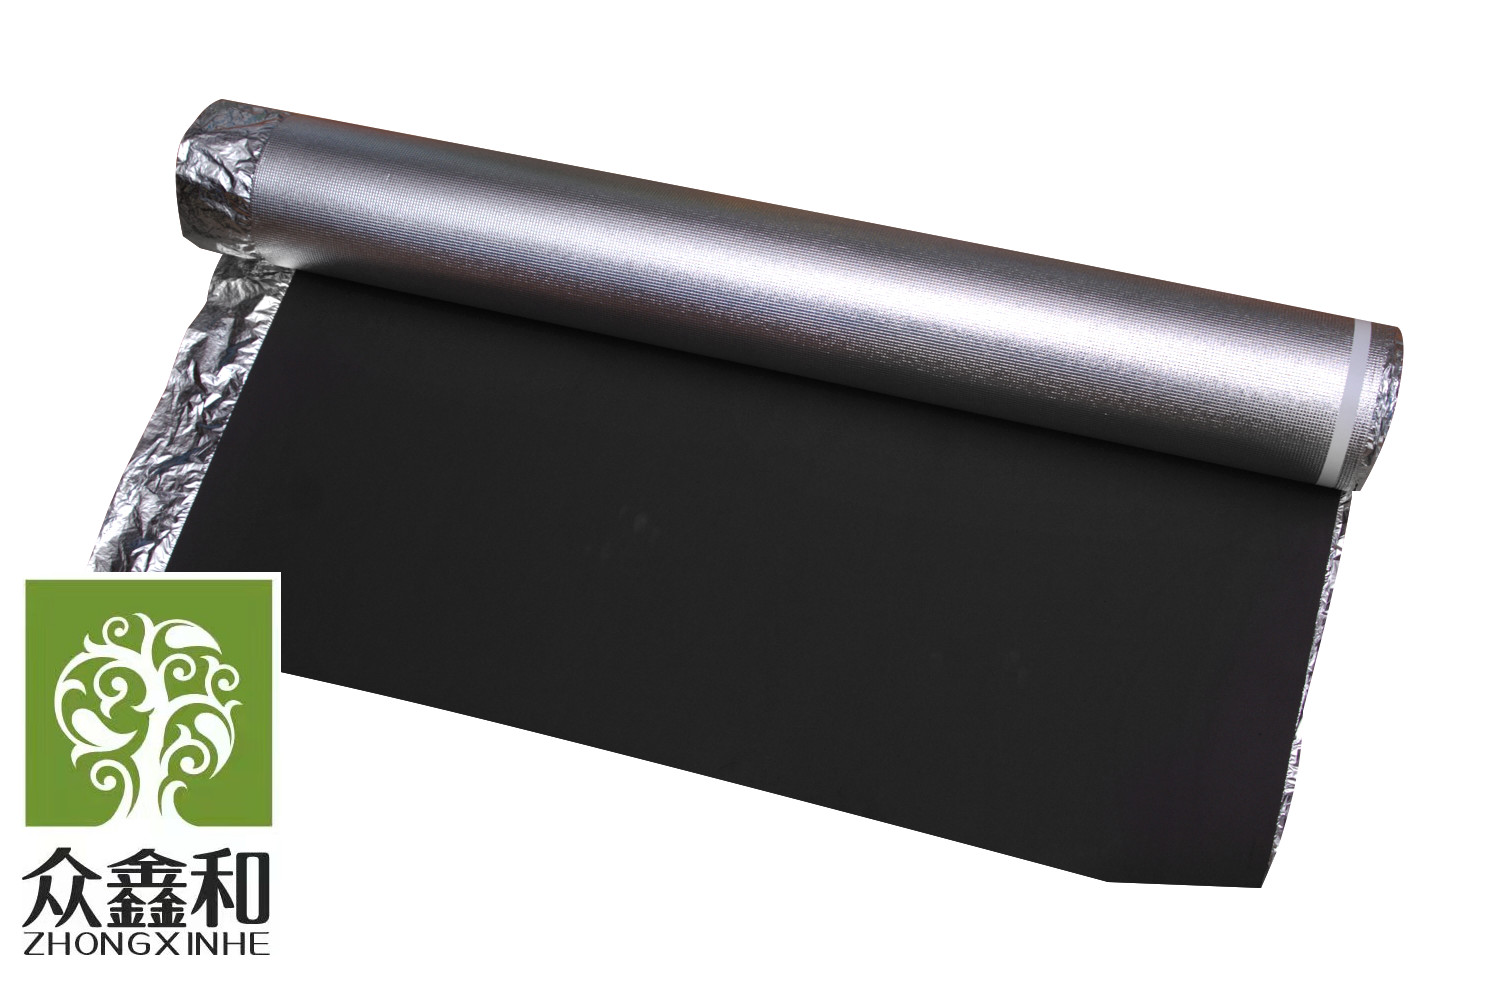
3mm Acoustic EVA Laminate Floor Underlayment With Silver Film For Sound Proofing
Introduction:
As a material, EVA is good for acoustical insulation, thermal insulation, mold & mildew resistance, and is flame-retardant. It also has excellent waterproof performance since the water absorption rate of the product is almost zero, it is an important moisture barrier and cushioning, it is also a very important ingredient in producing a floor with a quality sound. With foil backing will increase the property of thermal plus.
Features:
Superior acoustic protection
Provides moisture control
For use under laminate, engineered and solid hardwood
Contractor size roll
| Roll Cover: | 18.6m2 |
| Roll Width: | 1100mm |
| Roll Overlap | 100mm |
| Thickness | 3mm |
| Moisture Resistance Foil | Silver Film |
| Material: | EVA |
| Antimicrobial: | No |
| Moisture Resistant | Yes |
| Cushioning: | Yes |
| Commercial / Residential: | Residential |
![]()
![]()
![]()
How to Install
Step 1: Clean Your Subfloor
Clean your subfloor using your broom and dustpan so that it is free of any foreign objects.
Step 2: Roll Out Your Underlayment
Roll your underlayment next to the wall. Start in the corner to keep it as even as possible across the room.
Step 3: Cut the Section
Once you have your underlayment firmly in place, cut the section using your scissors or utility knife.
Step 4: Roll Out the Next Section
Roll out the next section with the tape side over the overlapping film on the previous section.
Step 5: Butt Underlayment
Butt your underlayment sections together so that the tape side is flush up against the other piece of underlayment and on top of the overlapping film.
Step 6: Cut Section
Cut the next section of underlayment.
Recommended Products