


All Products
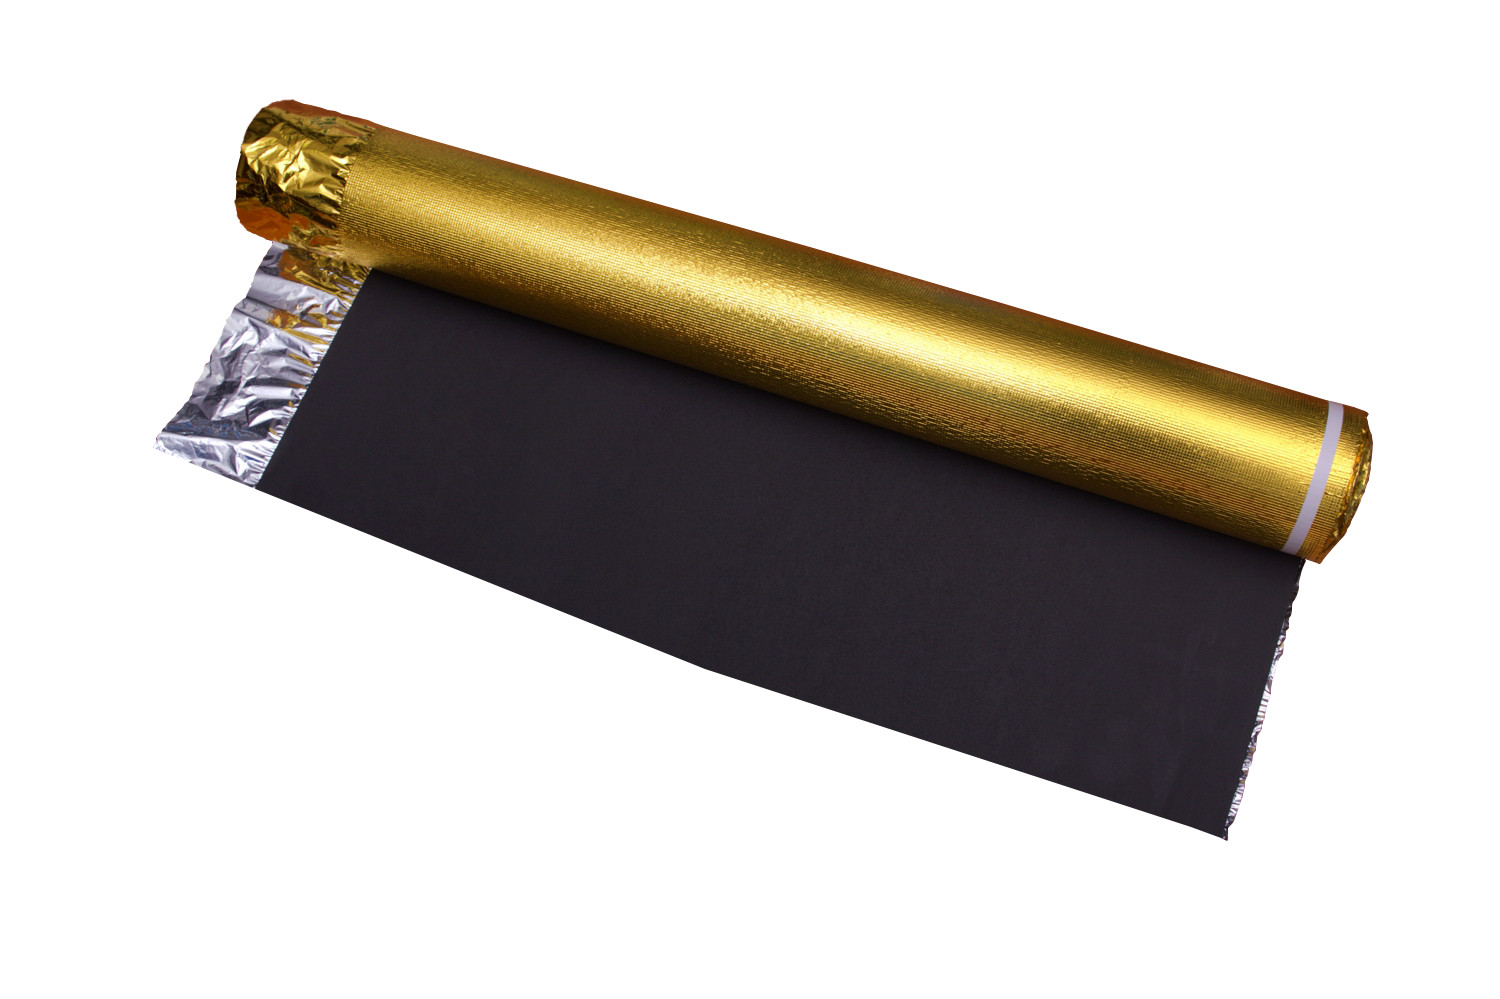
3mm Thick Acoustic Floor Underlayment Moisture Proofing Black Foam Underlay

| Place of Origin | China |
|---|---|
| Brand Name | No brand |
| Certification | SGS |
| Model Number | EVA 30-G |
| Minimum Order Quantity | 1000 sqm |
| Price | Negotiable |
| Packaging Details | Shrink wrapped |
| Delivery Time | 12WORKING DAYS |
| Payment Terms | T/T |
| Supply Ability | 1 million sqm per week |
Product Details
| Name | 3mm Black EVA Foam Underlayment | Material | EVA Foam |
|---|---|---|---|
| Thickness | 3mm Thickness | Density | 100kg/m3 |
| Size | 200sqft/roll | Coating | Golden Film |
| Application | Floating Flooring | Advantage | Moisute Proofing, Comfort Step |
| Highlight | 3mm thick Acoustic Floor Underlayment,200sqft/roll Acoustic Floor Underlayment,moisture proofing black foam underlay |
||
Product Description
3mm Black EVA Foam Acoustic Floor Underlayment For Floating Floor With Golden Film
Introduction:
3mm thick EVA Foam Flooring Underlayment Padding; Elasticized closed-cell technology creates rubber-like softness and flexibility; High-density Premium EVA foam provides excellent support and cushion; Contains NO toxic phthalates; 3-In-1 Heavy Duty with Tape & Vapor Barrier, Extreme Sound Reduction & Moisture Protection; With perfect glossy appearance, resistant to UV radiation and cracking; Perfect for Wood, Bamboo, WPC, SPC, Vinyl, Laminate and Any Floating or Engineered Floors.
- Reduces both reflective sound noise and through the floor sound transmission
- Conceals minor sub flooring imperfections and cracks
- Includes attached moisture barrier protection (No extra film required)
- Mold and mildew resistant / Non allergenic
- Pre attached tape for easy installation
- Includes overlap
| Roll Cover: | 18.6m2 |
| Roll Width: | 1100mm |
| Roll Overlap | 100mm |
| Thickness | 3mm |
| Moisture Resistance Foil | Golden Film |
| Material: | EVA |
| Antimicrobial: | No |
| Moisture Resistant | Yes |
| Cushioning: | Yes |
| Commercial / Residential: | Residential |
![]()
![]()
![]()
How to Install
Step 1: Clean Your Subfloor
Clean your subfloor using your broom and dustpan so that it is free of any foreign objects.
Step 2: Roll Out Your Underlayment
Roll your underlayment next to the wall. Start in the corner to keep it as even as possible across the room.
Step 3: Cut the Section
Once you have your underlayment firmly in place, cut the section using your scissors or utility knife.
Step 4: Roll Out the Next Section
Roll out the next section with the tape side over the overlapping film on the previous section.
Step 5: Butt Underlayment
Butt your underlayment sections together so that the tape side is flush up against the other piece of underlayment and on top of the overlapping film.
Step 6: Cut Section
Cut the next section of underlayment.
Recommended Products